NopGadget Theme + 18 Plugin Bundle for NopCommerce
Created on: Jul 09, 2026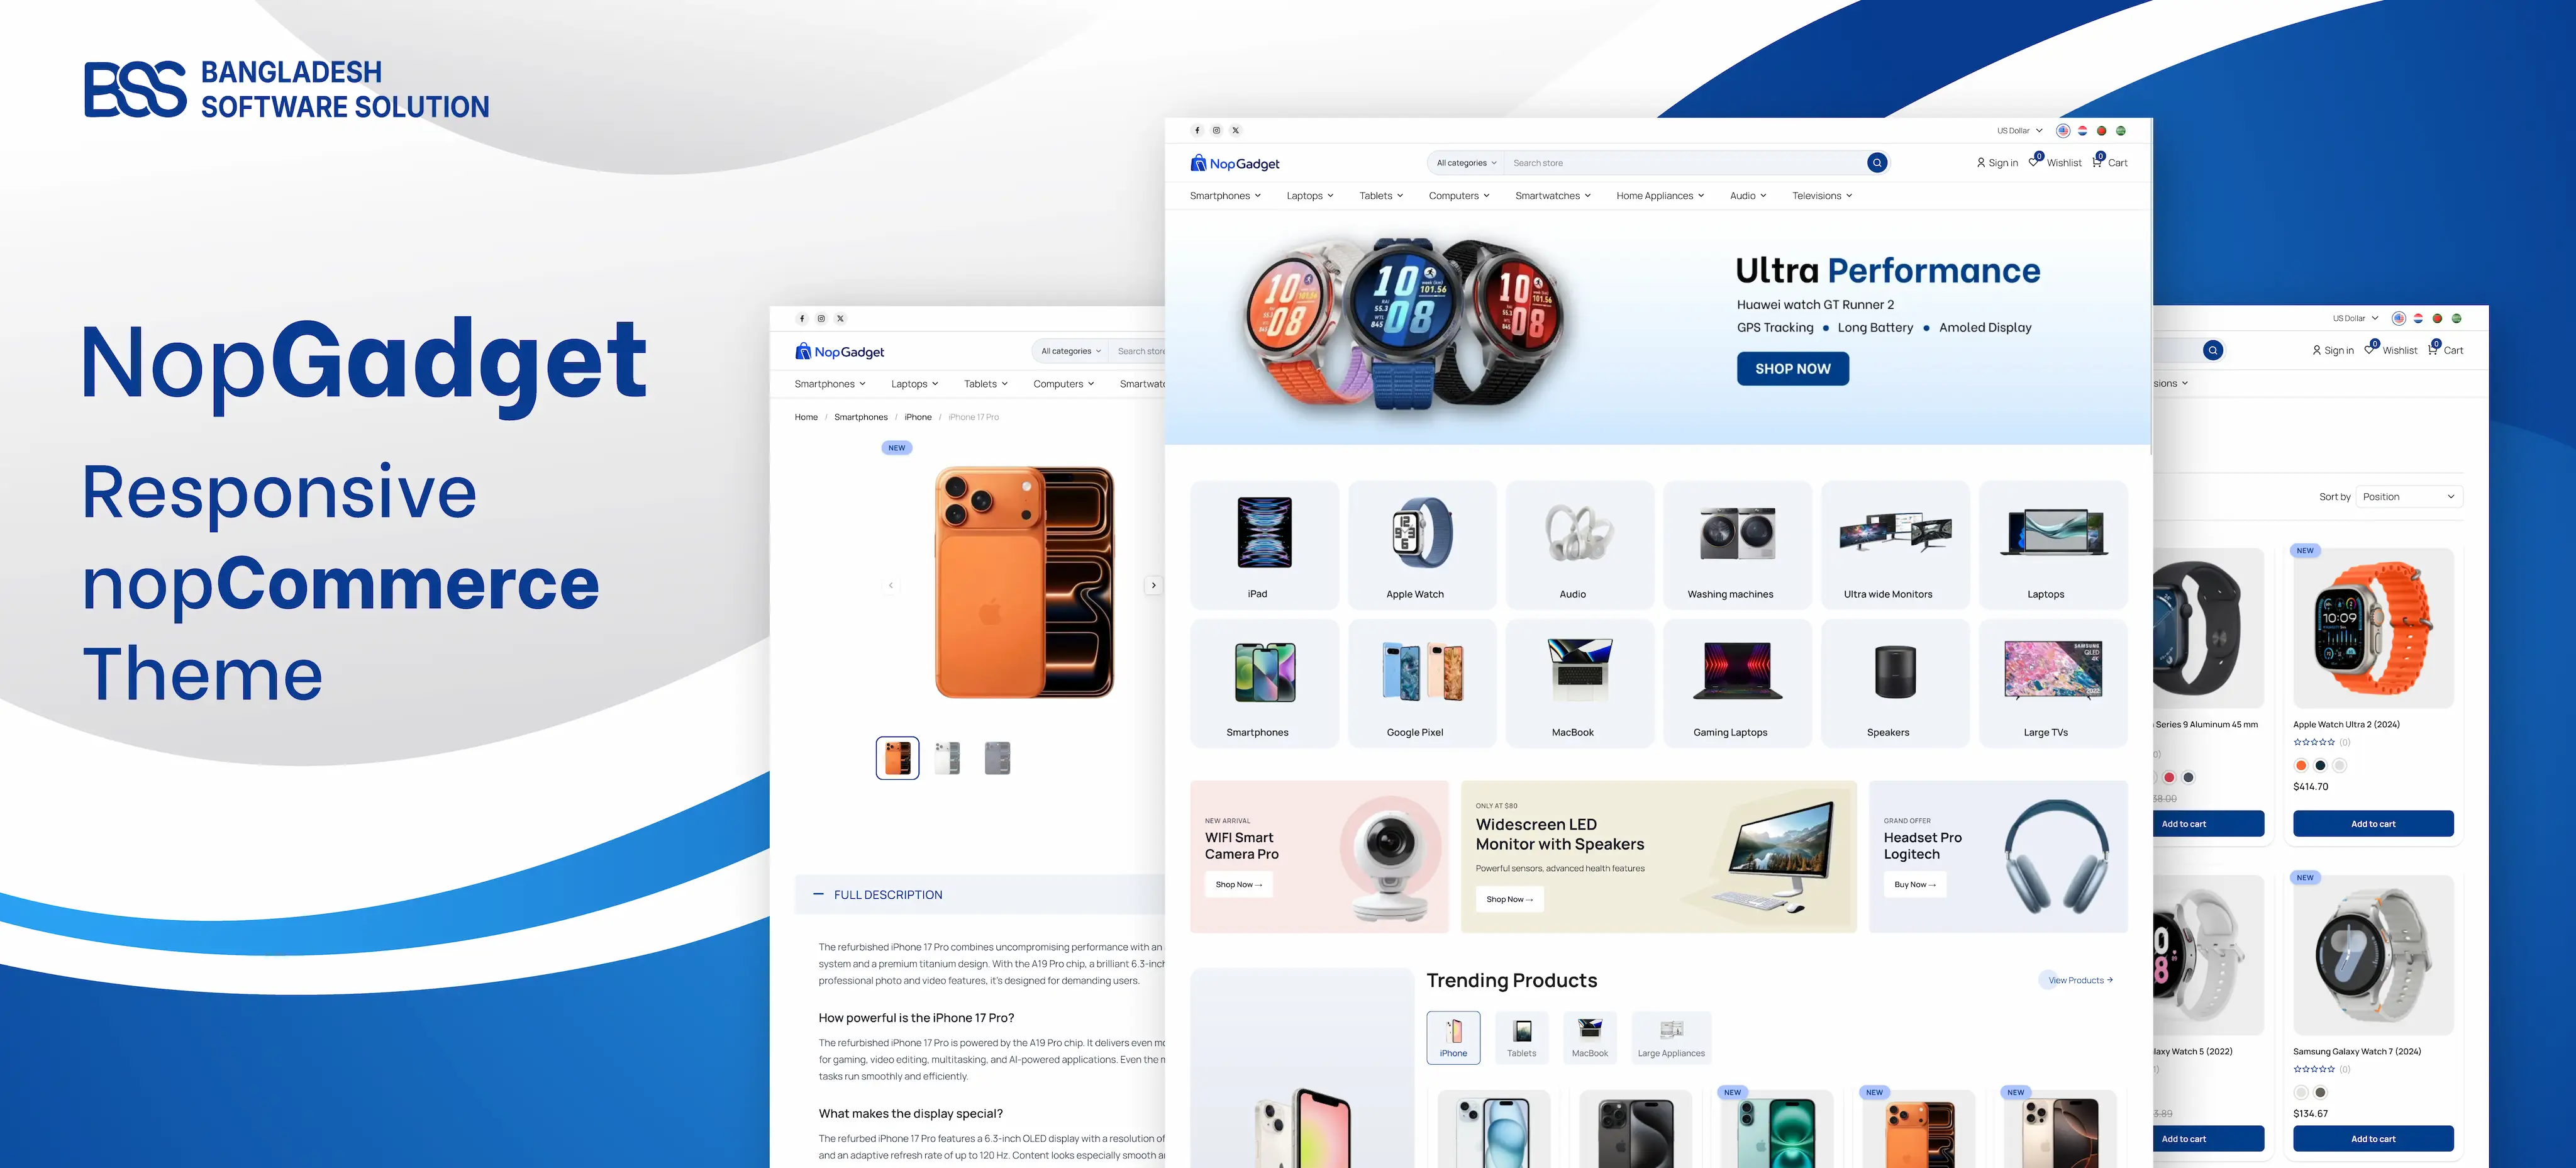
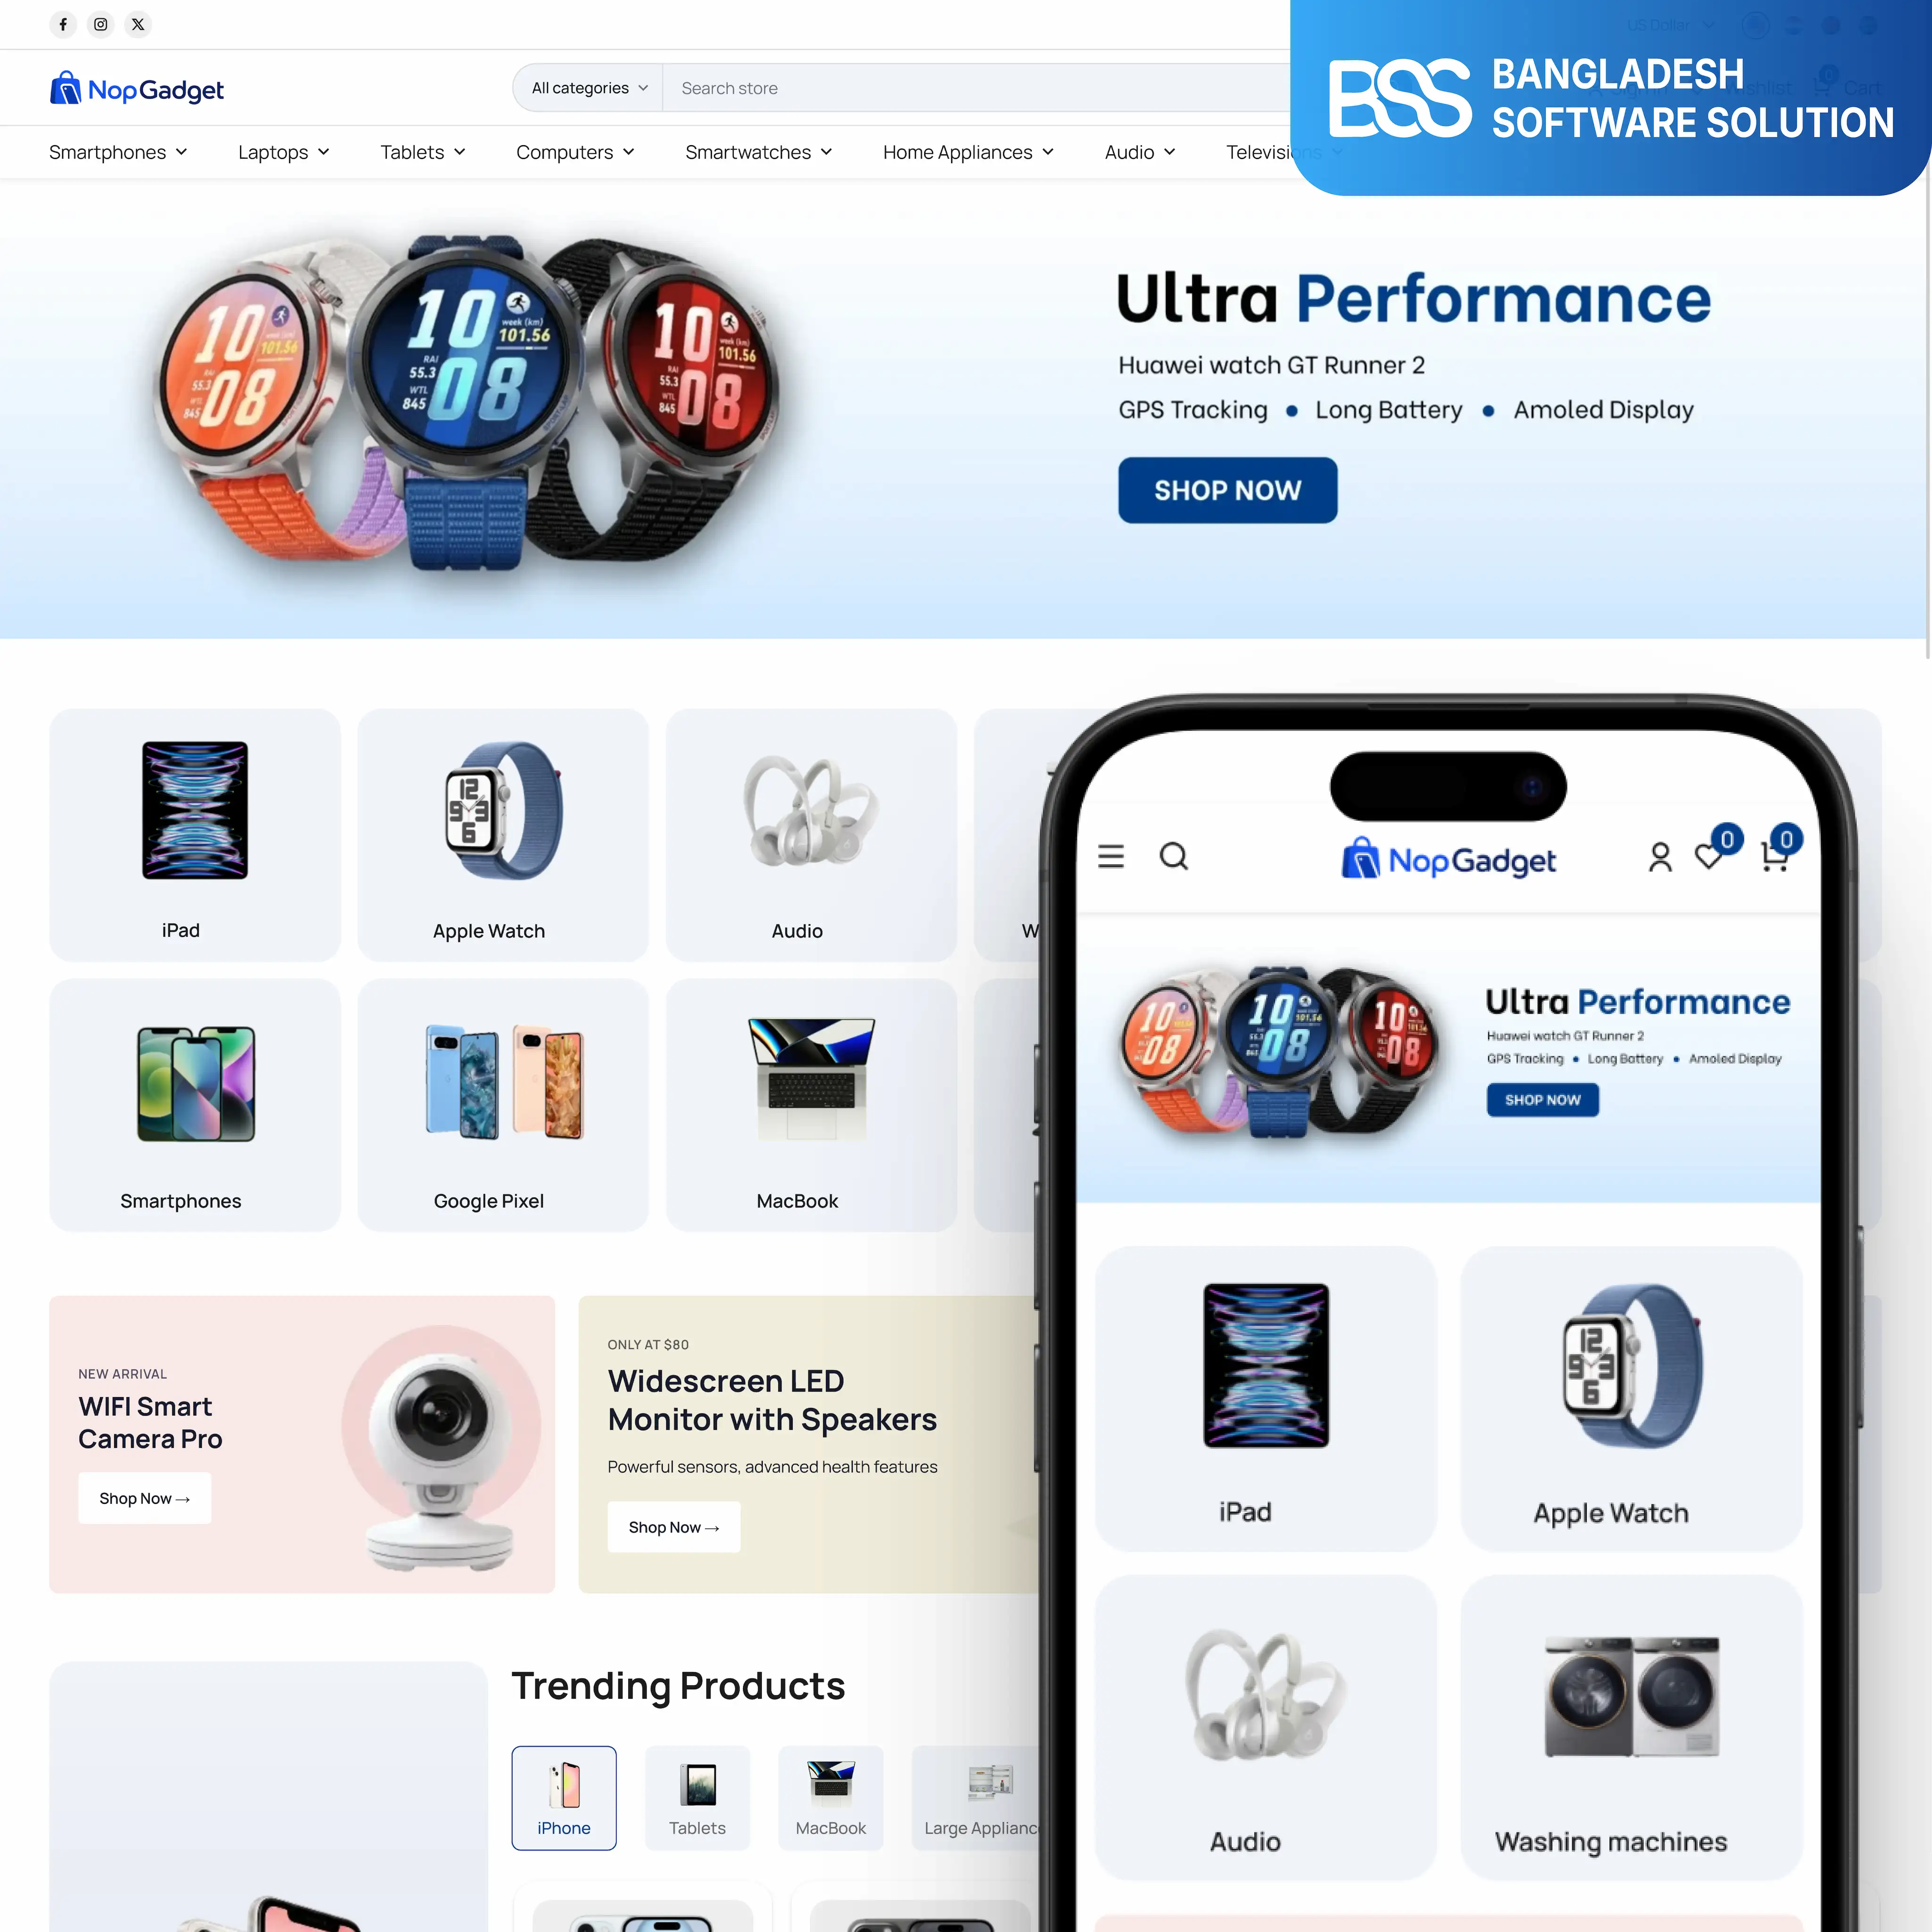
Welcome to the documentation for the nopGadget Theme for nopCommerce. Designed for technology, electronics, and gadget stores, nopGadget combines a modern storefront with a powerful suite of plugins to help you build a feature-rich eCommerce experience. This guide walks you through the installation, configuration, and customization of the theme, along with detailed instructions for each included plugin, enabling you to make the most of nopGadget's features and create a high-performing online store.
PRE-REQUISITES
- The theme requires installation of the BSS Core plugin first.
INSTALLATION
- Go to the Order Details Page and Download NopGadget theme
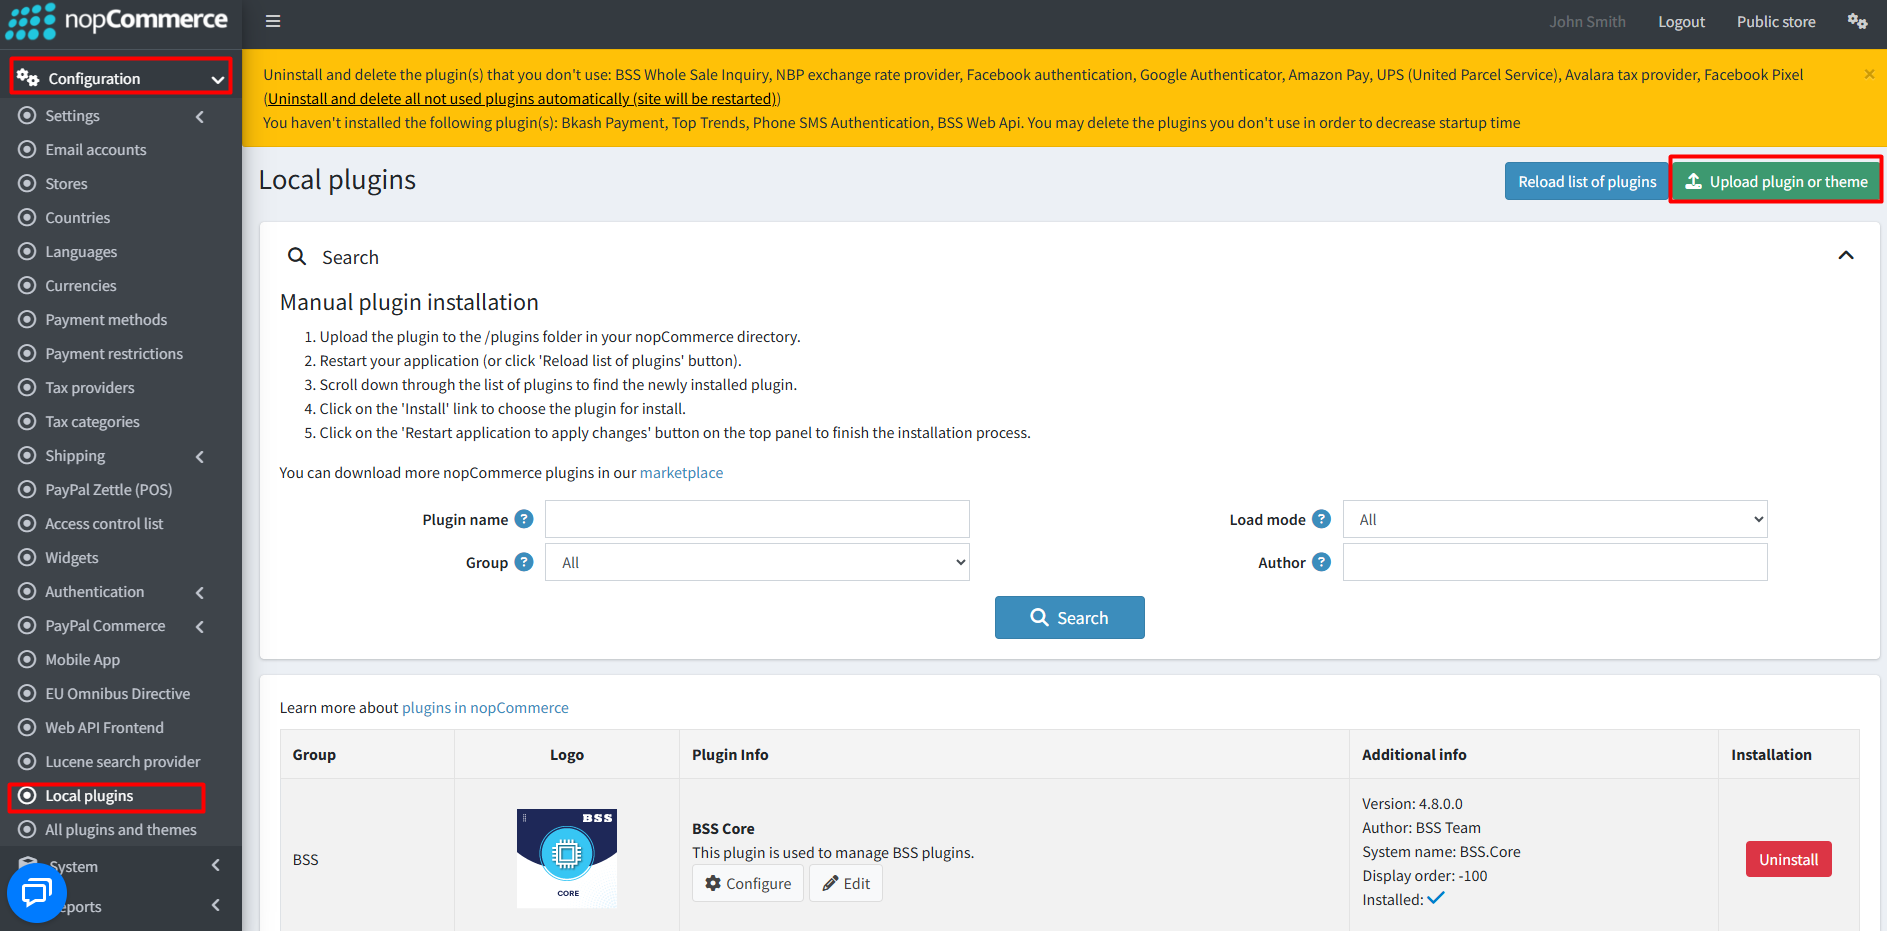
- Go to Administration → Configuration → Local plugins
- Within the bundle, you get all the required files, including BSS.Core
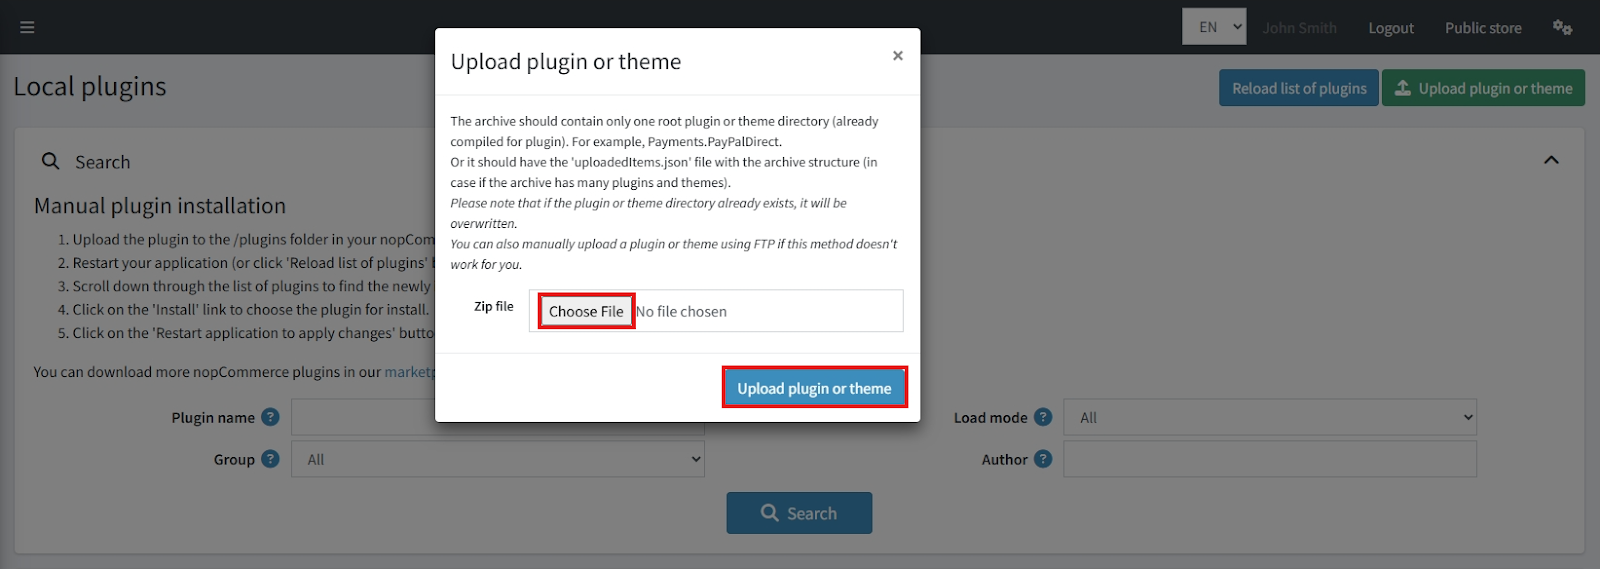
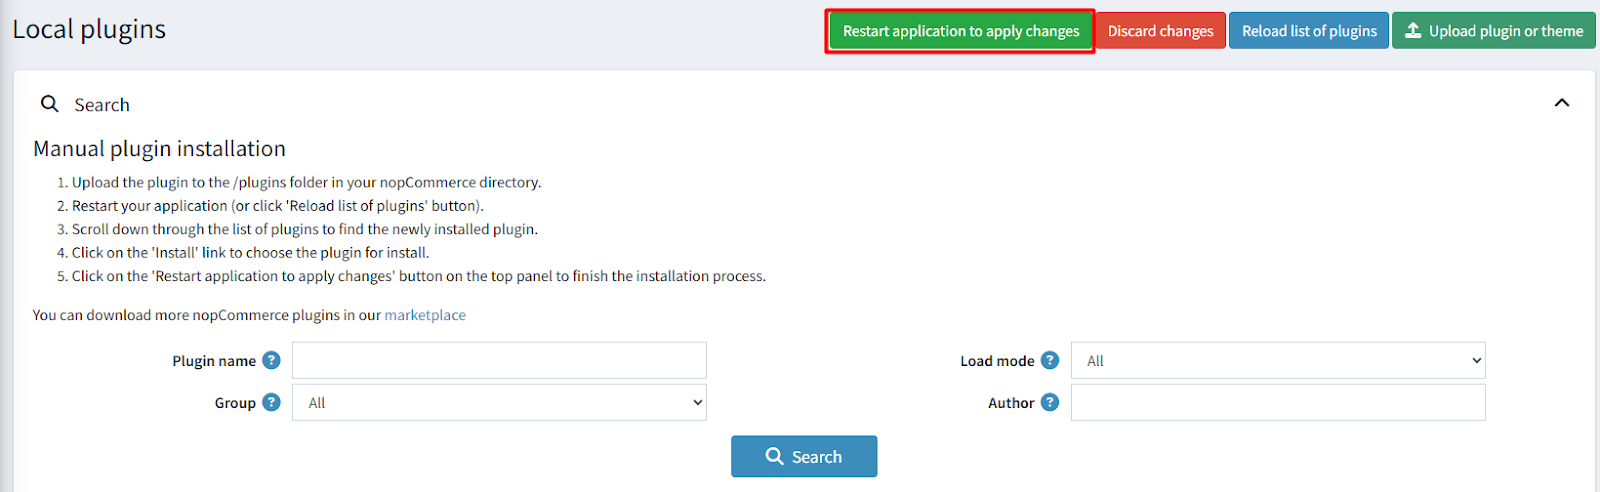
- Upload the zip files using the 'Upload plugin or theme' button
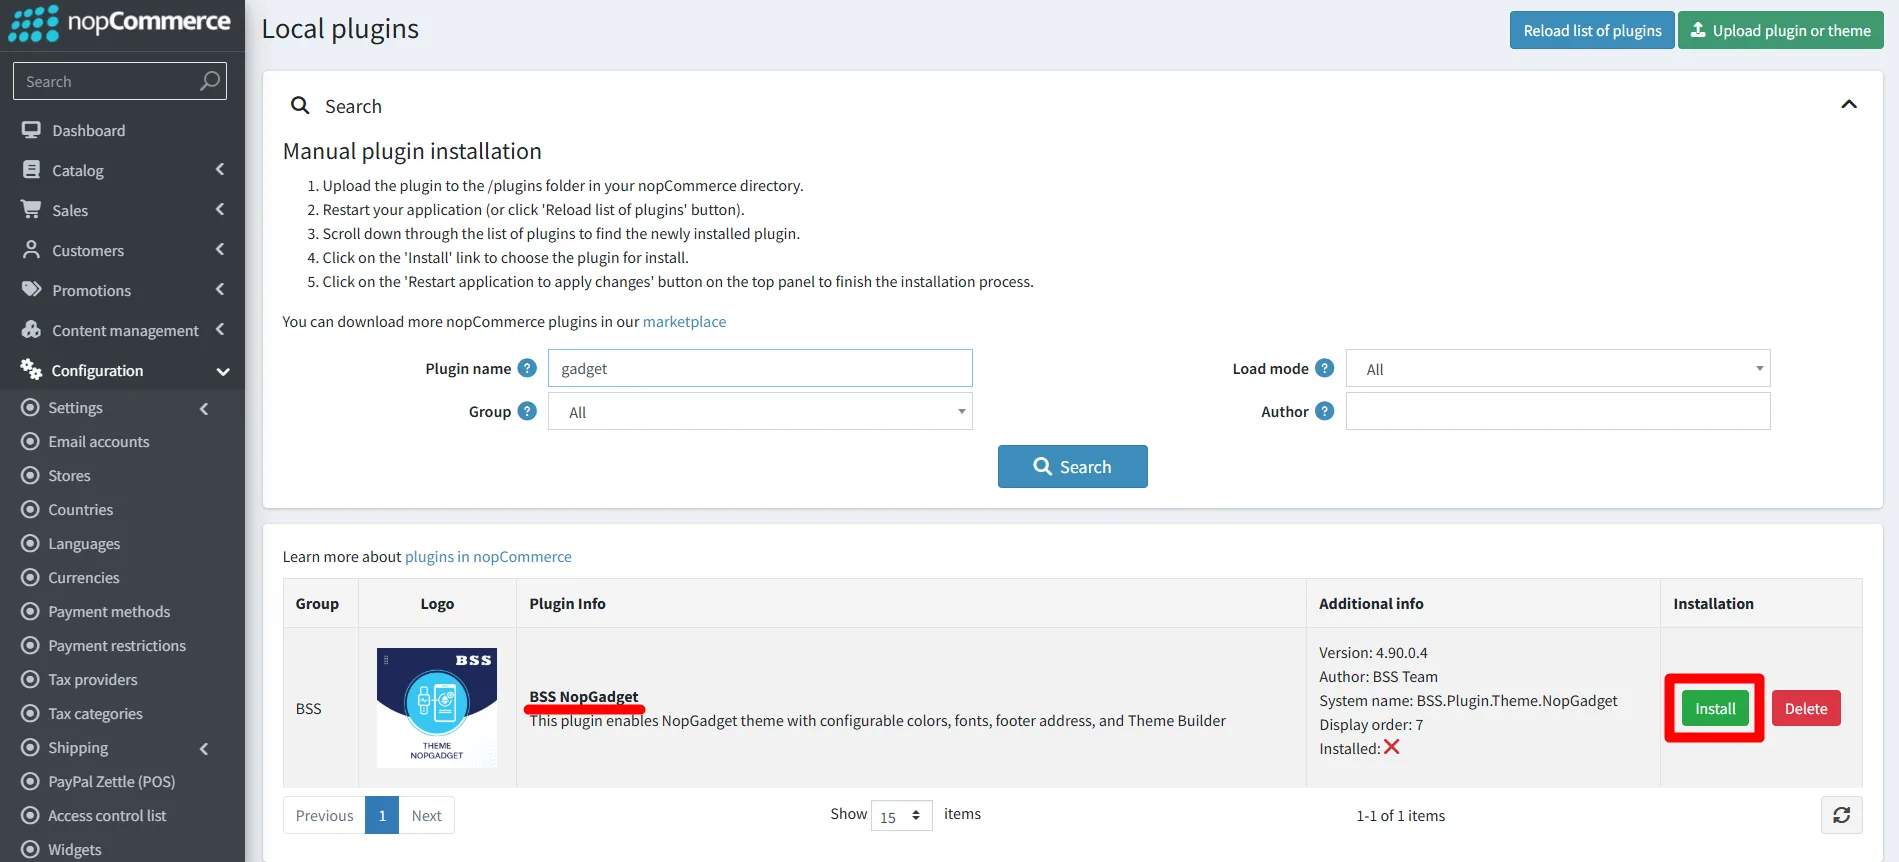
- After uploading, install the ‘BSS Core’ Plugin and ‘NopGadget Theme’.
- To make the theme functional, restart the application.
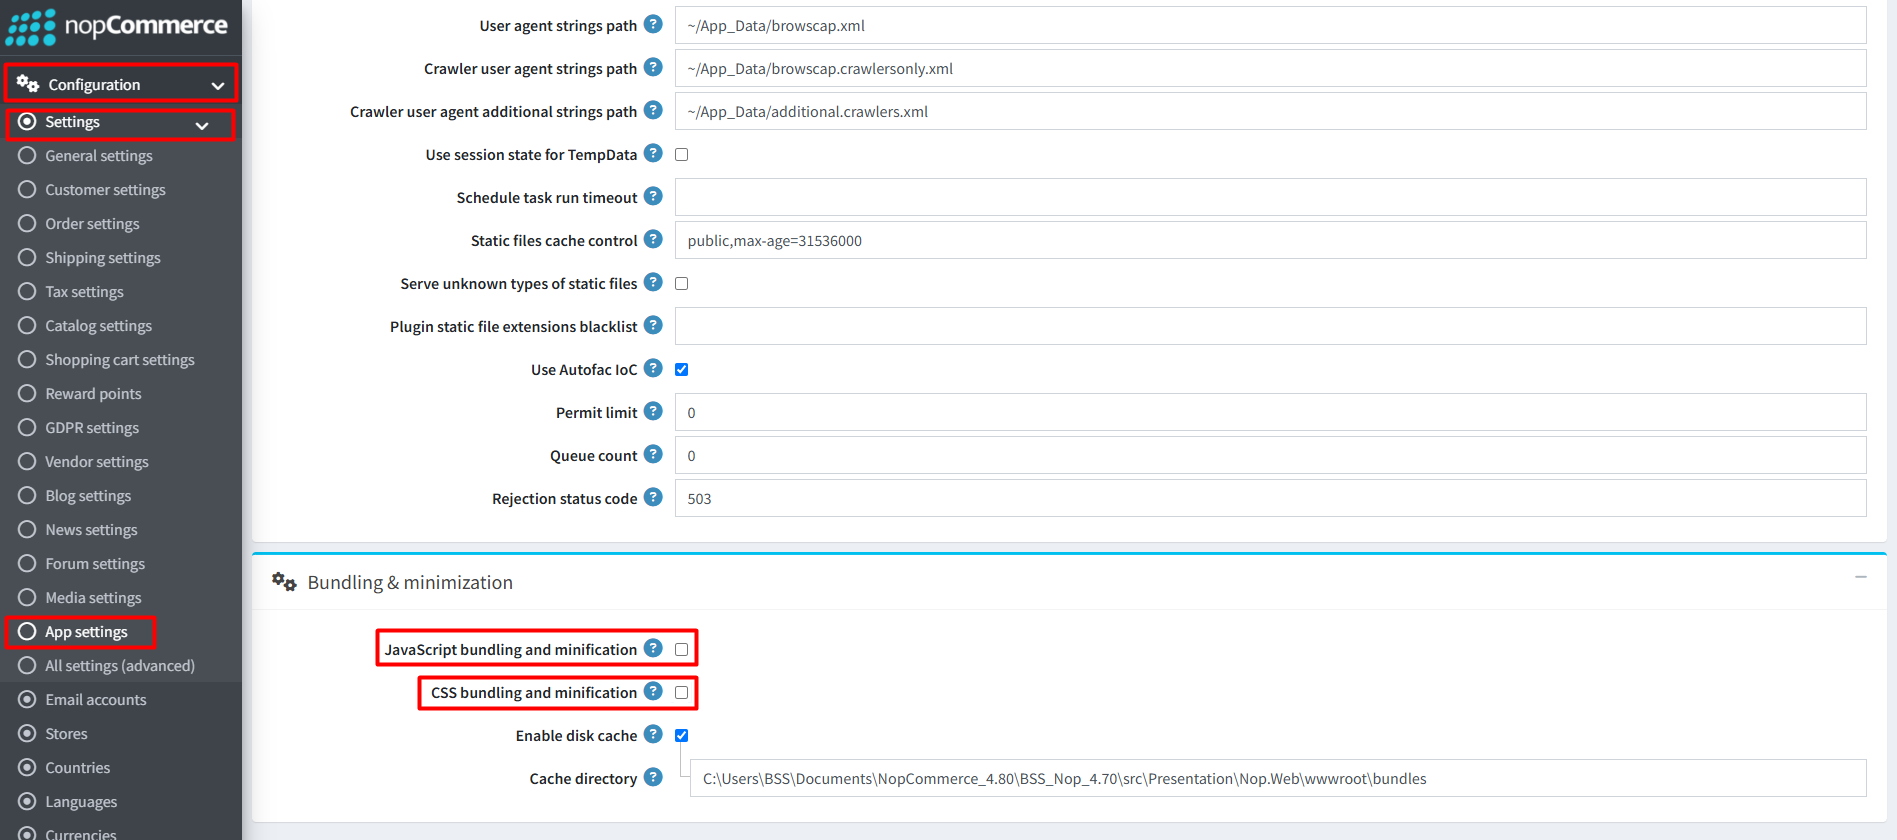
Recommendation: Go to > App Settings. If you find JavaScript bundling and minification, CSS bundling and minification are checked, then uncheck these two options and disable them.
ENABLE THE THEME
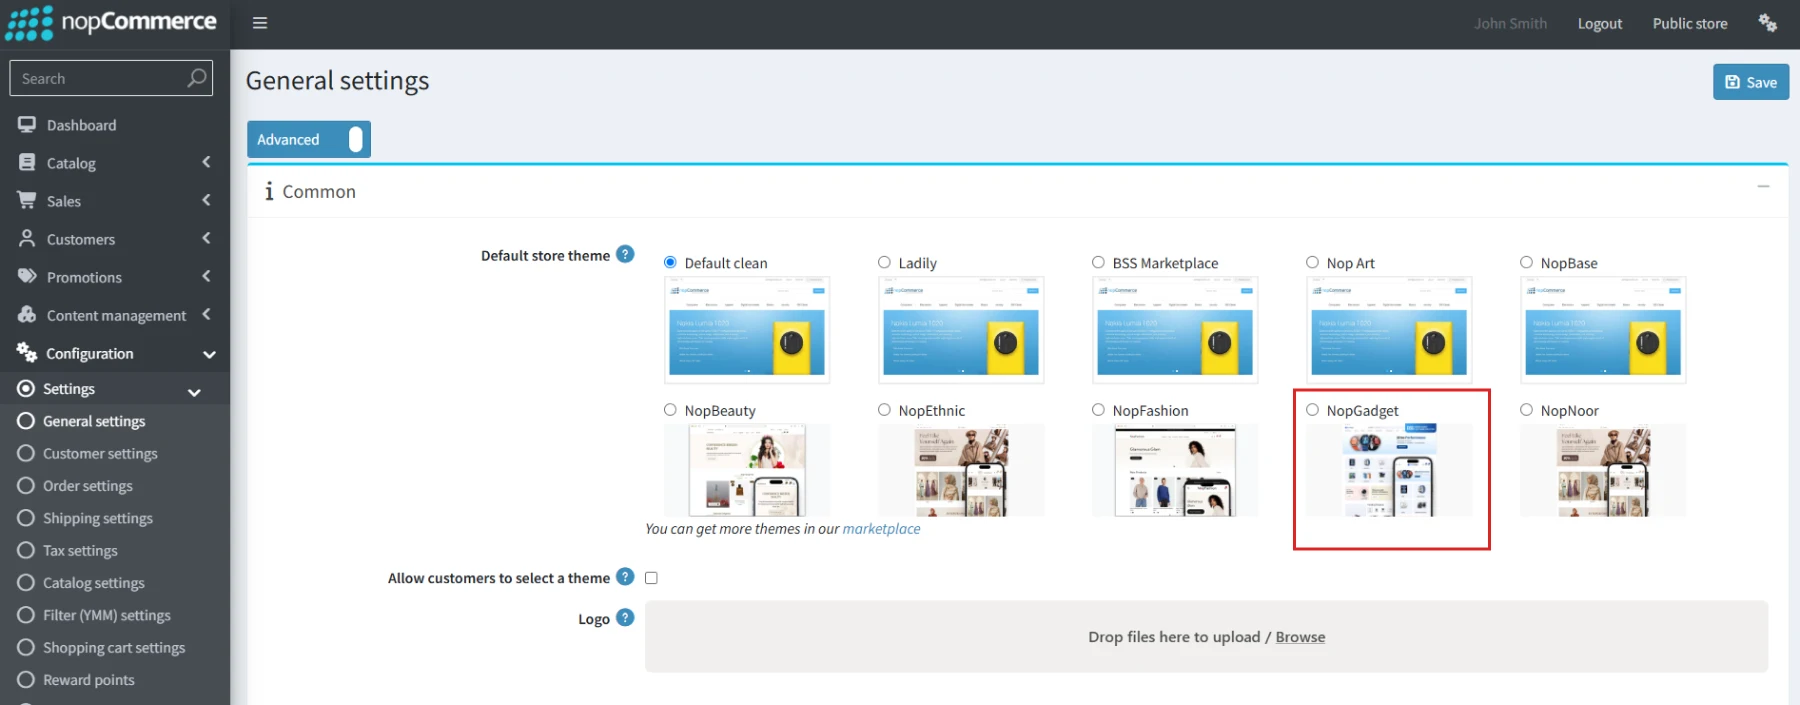
- Go to Configuration → Settings → General settings in the admin panel.
- Choose NopGadget as the Default store theme and save it.
ENABLE OTHER ASSOCIATED PLUGINS
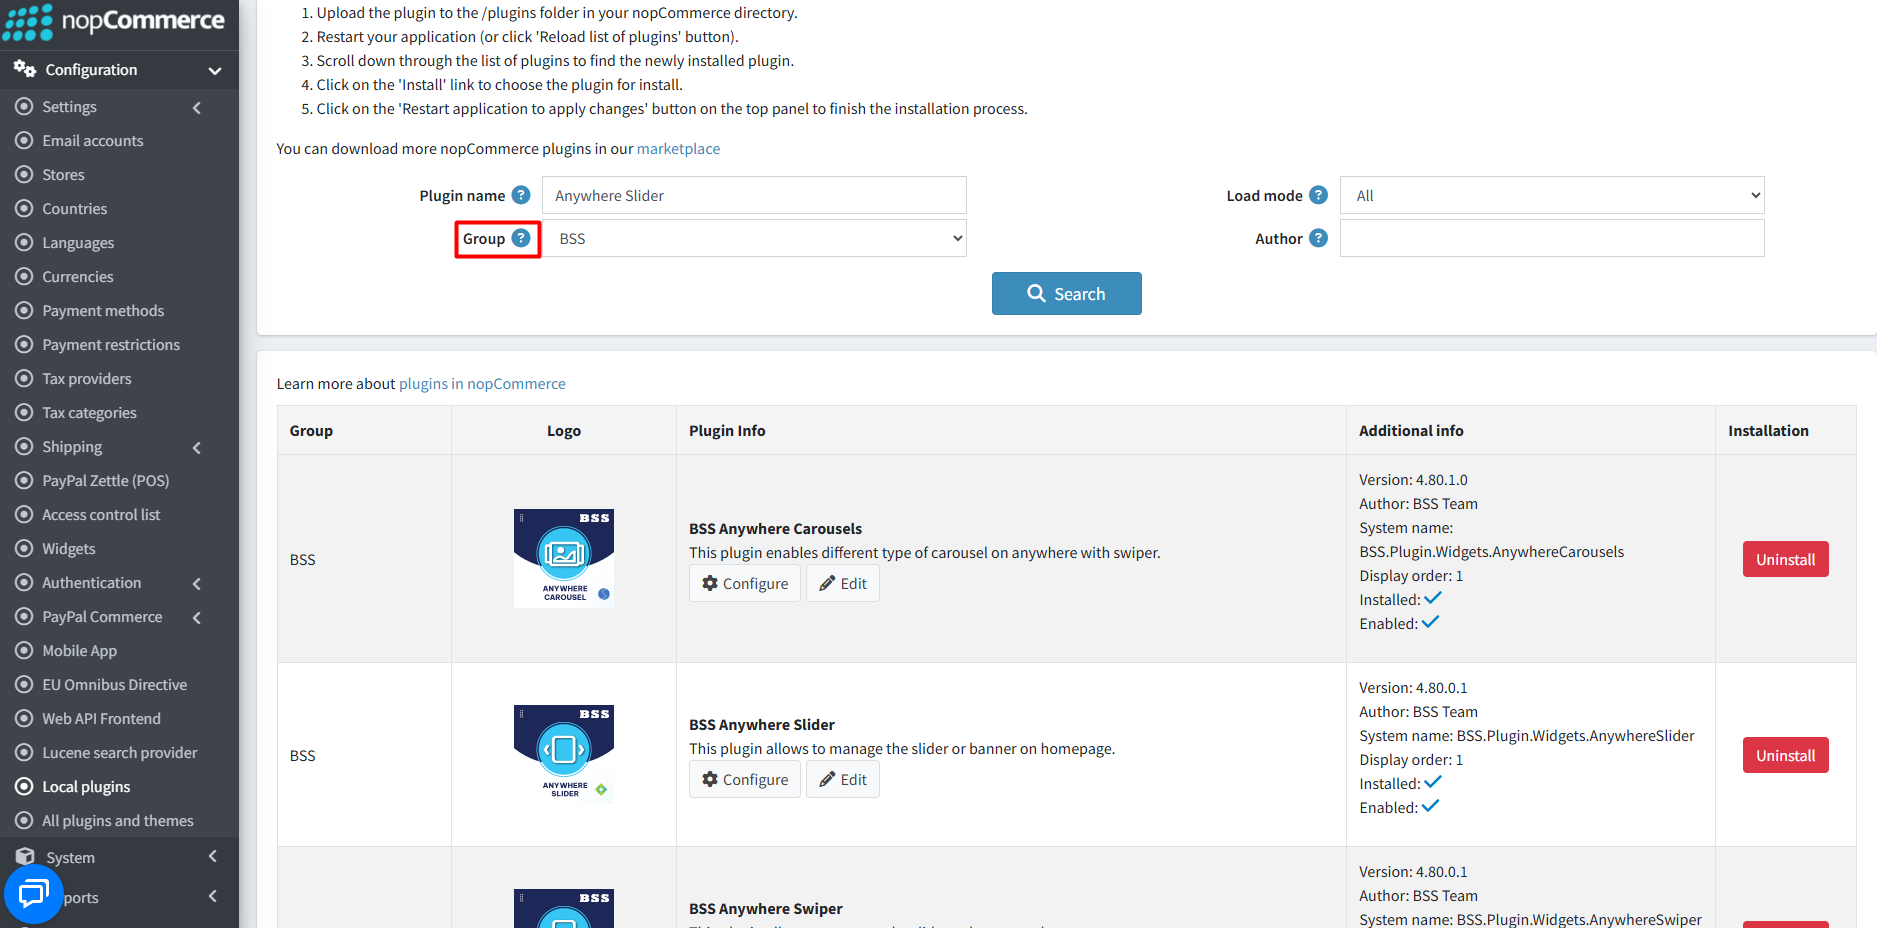
- Go to Administration → Configuration → Local plugins.
- Search the plugins associated with NopGadget theme using the Group Name ‘BSS’.
- To get the expected homepage view, install plugins by using the Group Name or Plugin Name.
LICENSE KEY
- After purchasing, contact BSS to receive the license key via email.
- First-time configuration of the theme or bundled plugins prompts entry of the License string. It can also be entered via BSS → Core settings → License.
- After entering the License string, save it and clear the cache.

CONFIGURATION
- Go to Administration → BSS → Themes → NopGadget → Configuration to set the theme configuration.
COLOR SETTINGS
- Brand Colors:Set Primary, Primary Dark, and Secondary colors for a consistent brand appearance in your store.
- Background Colors: Set primary and secondary background colors for different sections of your store.
- Text Colors: Configure text colors for default, secondary, and light text elements.
- Button Colors: Customize primary and secondary button background and hover colors.
- UI Colors & Tokens: Control border colors, element corner radius, card rounding, and overlay styling across the theme.
- Status Colors: Set status color for - Success , error and warning.
- Neutral & Gray Scale: Define white, black, and gray shade(Gray 100 - Gray 500) colors used throughout the theme’s UI and layout elements. .
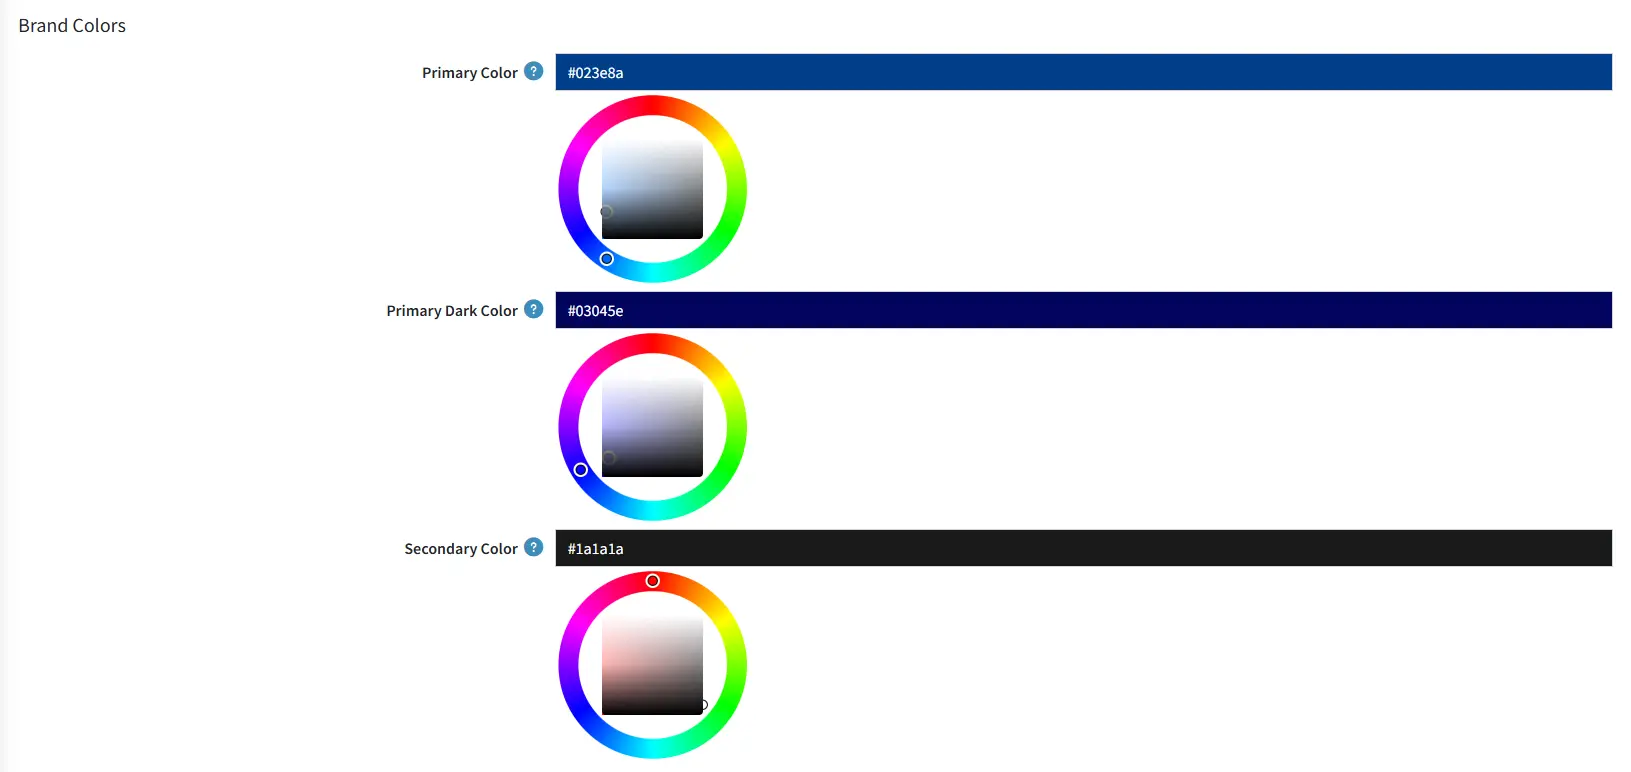
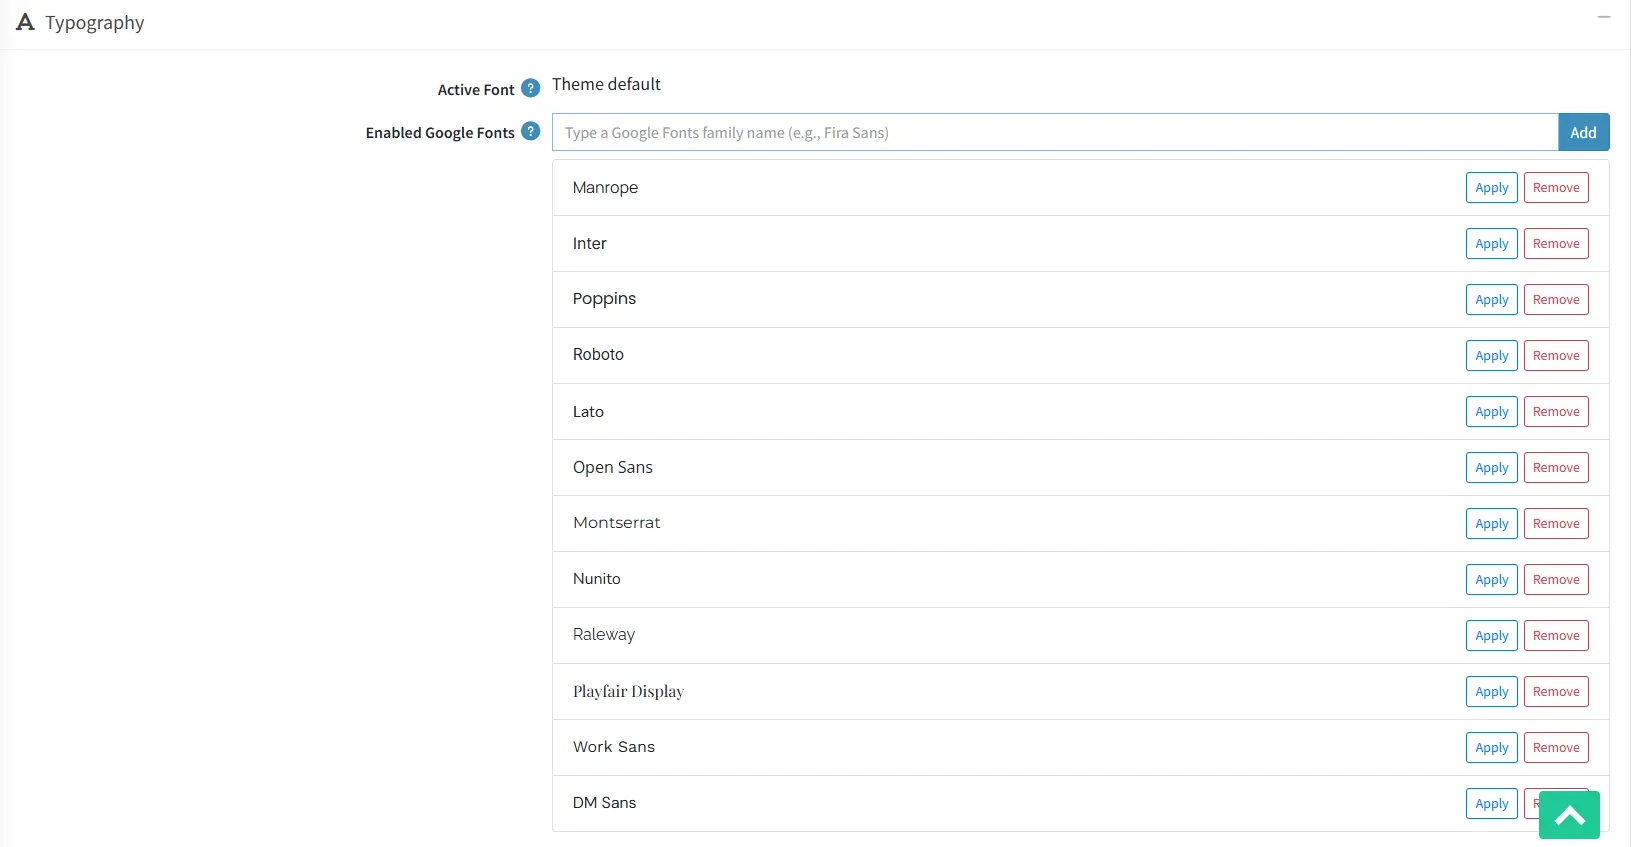
TYPOGRAPHY
- Manage the storefront font settings by selecting an enabled Google Font or adding a custom Google Font family.
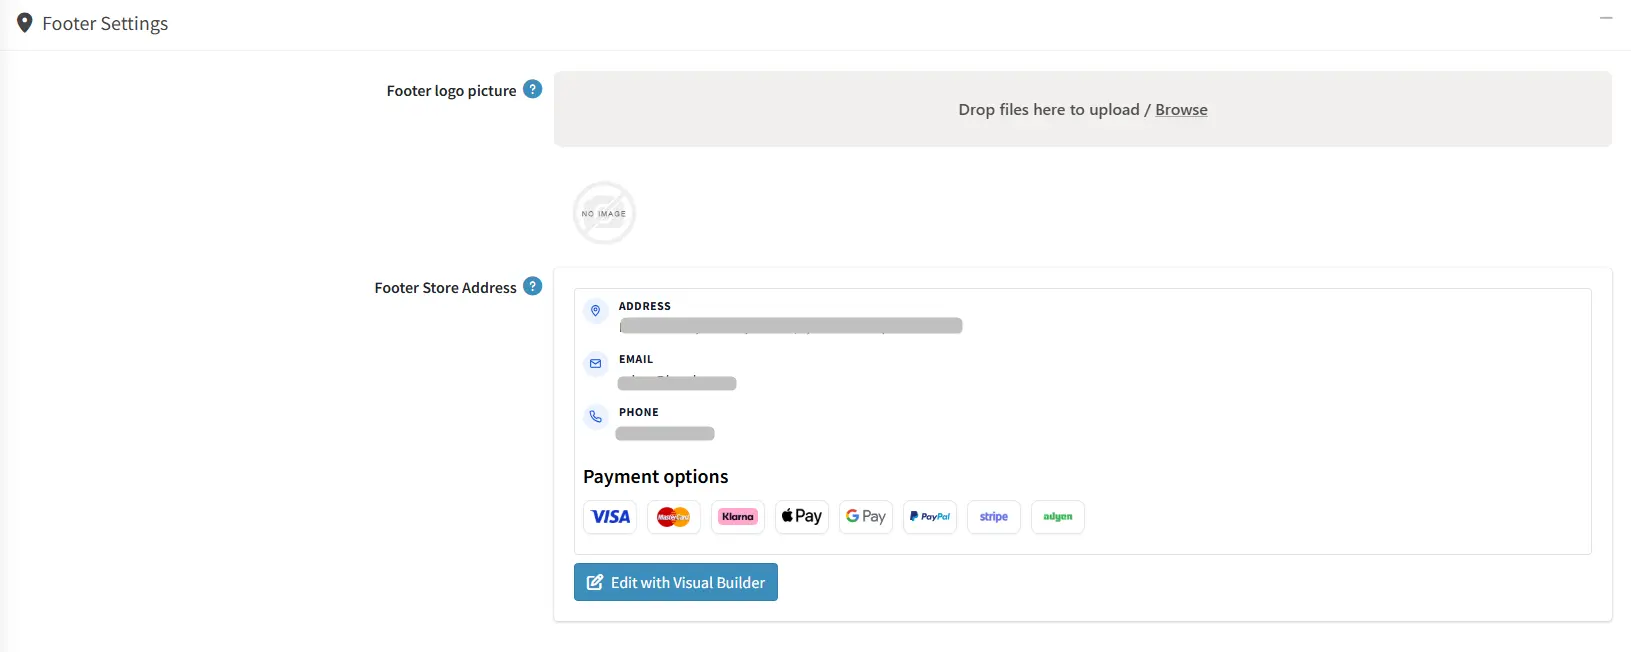
FOOTER SETTINGS
- Upload custom logo for the footer and also can add footer store address and design address style in rich text
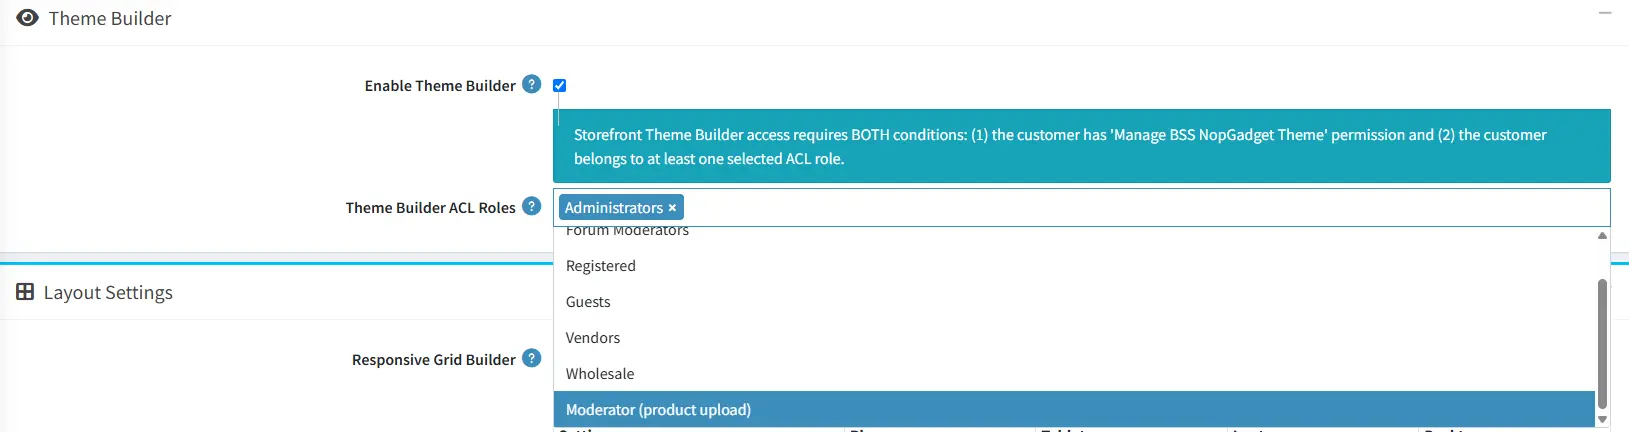
THEME BUILDER
- Enable Theme Builder: Enable the floating Theme Builder panel to customize colors, fonts, and layout settings directly from the storefront.
- Theme Builder ACL Roles: Assign specific customer roles to control who can access and manage the Theme Builder from the storefront.
LAYOUT SETTINGS
- Targeted Page Specifics: Use the section dropdown to apply unique layouts, margins, and font sizes to individual pages or specific content areas like homepages, catalog lists, and vendor pages.
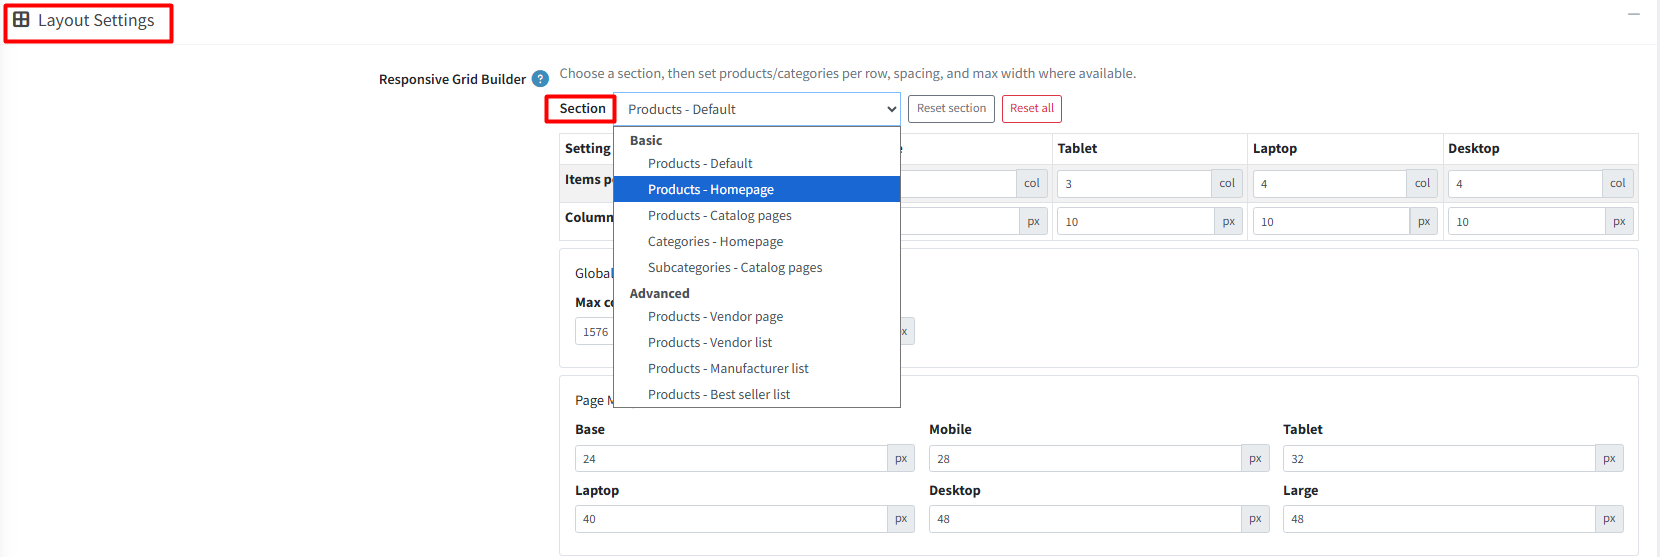
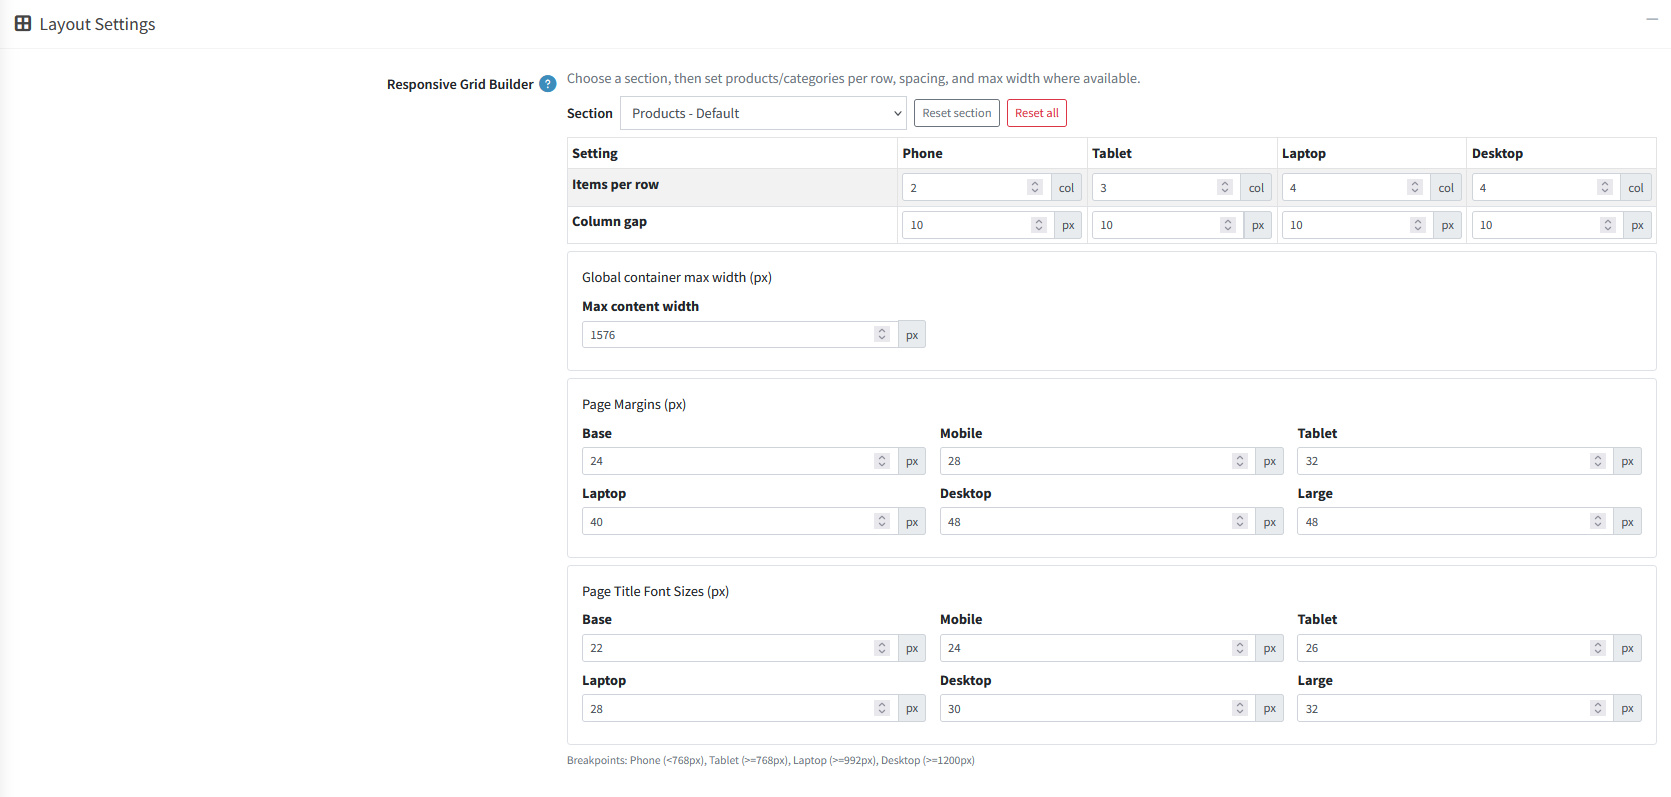
- Customizable Responsive Grids: Configure the number of items per row, spacing, and container widths across various screen sizes (Phone to Desktop), page margin, title size for precise control over your store's visual structure.
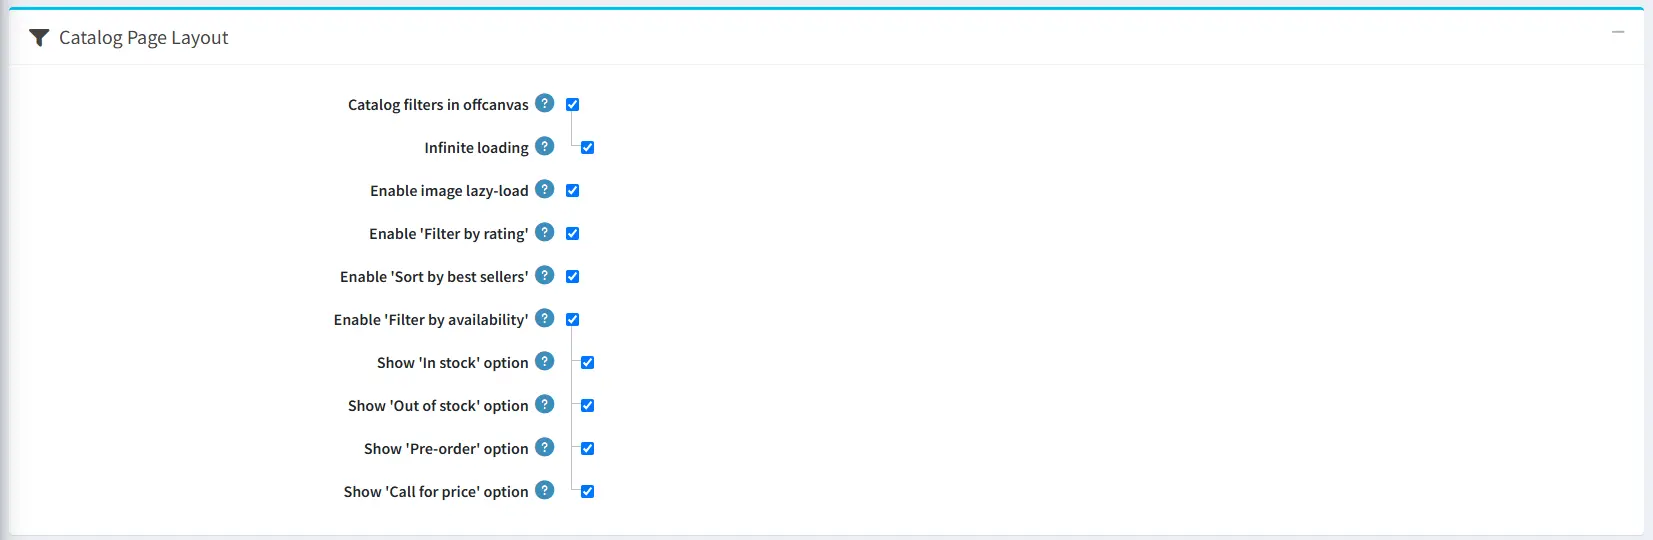
Catalog Page Layout
- Catalog filters in offcanvas: Catalog filters are shown in offcanvas style when this option is enabled.
- Infinite loading: When pagination (product per page selector) is hidden and infinite loading option is enabled products keep loading when the user scrolls on the page.
- Enable image lazy-load: Check to enable lazy-loading for product box images.
- Enable 'Filter by rating': Enable this option to show a customer-rating filter on the catalog filter sidebar on all listing pages.
- Enable 'Sort by best sellers': When enabled best sellers option visible on catalog sort dropdown to show products based on their highest total quantity sold.
- Enable 'Filter by availability': When enabled an availability filter is shown on the catalog filter sidebar on all listing pages.
- Show 'In stock' option: Enable In Stock option so that products that are available now will show in the availability filter.
- Show 'Out of stock' option: Check Out of stock option to let users view products that are currently sold out.
- Show 'Pre-order' option: Enable Pre-order option to the filter, allowing shoppers to look specifically for advance-booking items.
- Show 'Call for price' option: Check Call for price option so customers can quickly find products that require contacting the store for a quote.
PRODUCT DETAILS
- After adding to cart: Select option to display a simple success message or automatically open the side flyout cart panel after a product is added to the cart.

- Loader Settings: Enable loader settings and add your own custom css or use css from any loader site like: css-loaders.com to show customized loader in your site.
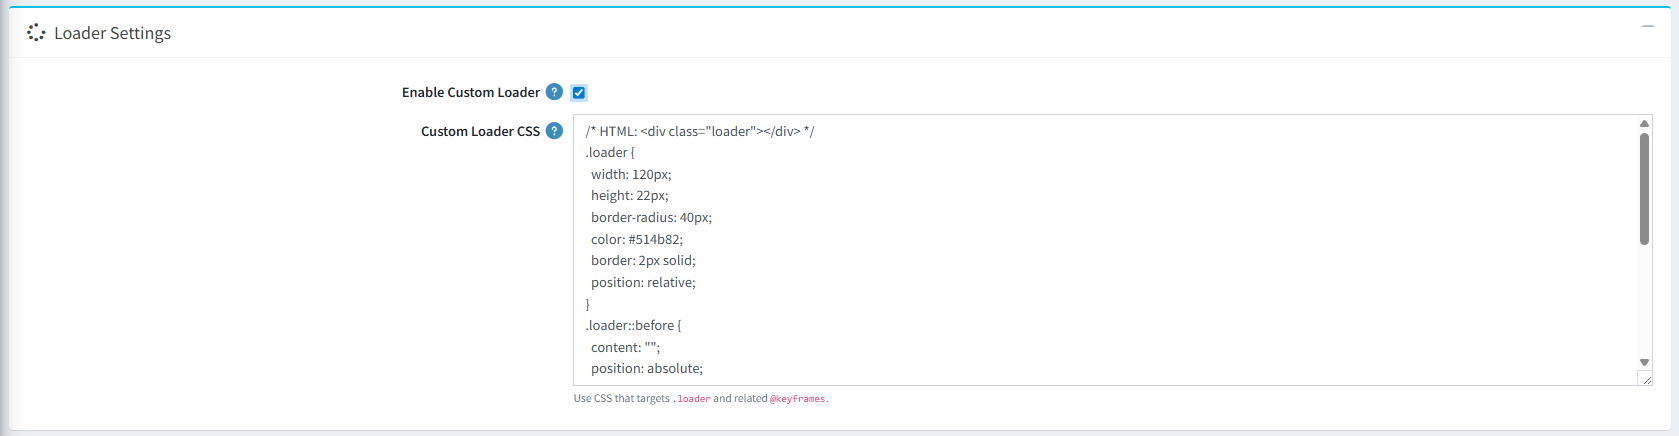
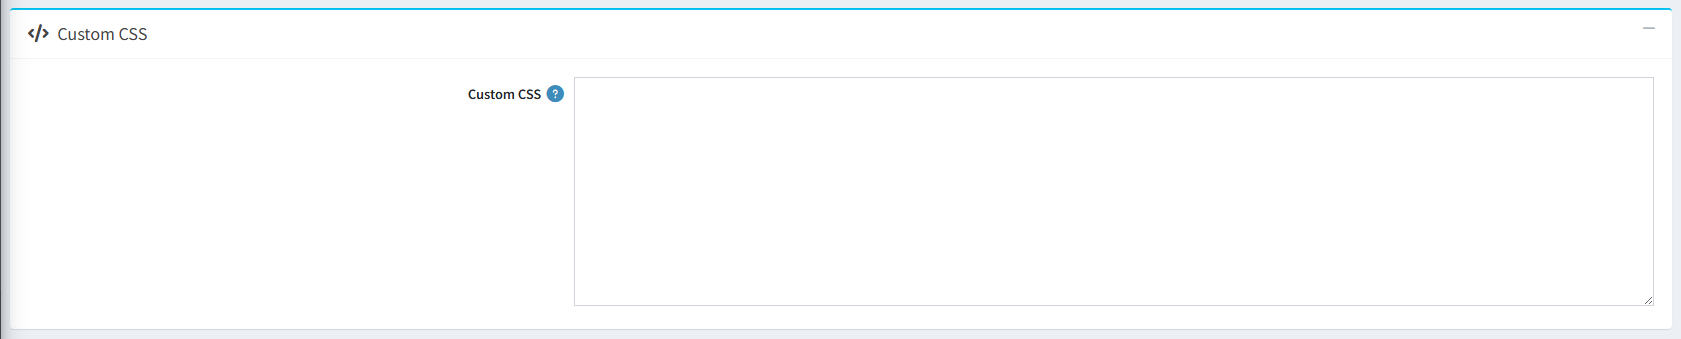
- Custom CSS: You can add custom css to add customize style for your site.
PUBLIC VIEW
PLUGIN CONFIGURATION
-
- BSS Product Box
- BSS Payment Change
- BSS Visual Editor
- BSS Anywhere Component
- BSS Advance Product Compare
- BSS Product Ribbon
- BSS QuickView
- BSS Picture Gallery
- BSS Anywhere Swiper
- BSS Anywhere Carousels
- BSS Google Authentication
- BSS Microsoft Authentication
- BSS One Page Checkout
- BSS AI SEO Assistant
- BSS EU Omnibus Directive
- BSS EU GDPR Cookie Consent
- BSS Phone SMS Authentication
- BSS Sencloud